My medlar jelly journey began with a lone, wild medlar tree growing by a cliffside field near my home in Cancale. I clocked it (inveterate forager that I’ve become), tasted one of the firm, golden, funny-looking orbs (Ack! Sour and astringent!), read up on it (should’ve done that before tasting it), then gathered a couple of kilos to try my hand at making medlar jelly.
As instructed, I stored the medlars in a cool place to over-ripen or ‘blette.’ And then, I got called away to the US for 3 weeks on a family emergency. All thoughts of medlars left my head till I returned and found them soft, dark, and looking like they should be thrown out. I squeezed one open and tasted the now-brown, which had turned sweet-tart and creamy. So THAT’S what bletted means*, I thought, then set about my jelly task.
The initial results were not promising. Boiling the bletted medlars in water yielded a muddy-looking, seedy purée. The strained medlar juice was brown and sour. And then, the magic of heat, sugar, and a hint of lemon happened. As the liquid boiled, it went from umber to orange, dun to glistening. After an hour of cooking the color deepened and the syrup gelled to perfection. And the flavor! Citrusy, apple-y, floral, and sweet…like nothing I’d ever tasted. I was hooked.
Medlar jelly, like quince jelly (whose color it resembles), is one of the easiest preserves to make. (Yes, you do have to wait for the fall fruits to become bletted, but they do that all on their own.) The transformation the fruit undergoes also makes it one of the most satisfying – ‘alchemy in a Maslin pan,’ as Jane Steward at Eastgate Larder in Norfolk (UK) has said.
*I’ve read lots of cooks who have referred to bletting as ‘rotting’ or ‘fermenting’ which I find misleading and unappetizing. Bletting makes medlars (and persimmons) sweeter, less astringent, MORE delicious.
2 lb./1 kg. medlars
water
3 cups or more sugar
1 lemon
To blette the medlars: Spread in a single layer on a baking sheet or in a wood box, cover with a clean kitchen towel, and leave in a cool dry place 1 to 2 weeks, or until they have softened and split when gently squeezed. Their color will change from red-gold, to brown.
Wash the medlars, drain, and remove any leaves or twigs. Place in a large saucepan, and add just enough water to cover. Place a lid over top, and boil over medium heat 30 to 45 minutes, or until the medlars have broken down. Mash the medlars with a potato masher, to turn them to mush.
Filter the medlar juice by spooning the purée/mush into a nut milk bag (my favorite for small batches) or an old pillow case, then suspend it over a large bowl or saucepan to catch the juice. (I hang mine on a broomstick set on two chairs.) Leave for at least 4 hours, until most of the juice has dripped out. Do not squeeze the bag; you won’t get THAT much more juice and squeezing it will make the jelly cloudy. Discard the medlar purée, then measure the juice into a clean saucepan. Place several teaspoons in the freezer to test the jelly as it cooks.
Add an equal amount of sugar to juice to the pan. So for 3 cups juice, add 3 cups sugar/1 liter of juice, add 1 kg. sugar. Squeeze the lemon, remove the seeds from each half, then add the juice and the lemon halves to the pan. Stir everything together to dissolve the sugar.
Bring the liquid to a quick-rolling boil, stirring often. Reduce the heat to medium-high, and boil briskly for 30 minutes, stirring occasionally at first, and more and more frequently as time goes on. Reduce the heat to medium, and boil 15 to 30 minutes more, stirring regularly. Here’s what will happen :
- The white foam (pectin) will begin to disappear.
- The liquid will start to feel thicker and more syrup-like as you stir it.
- The bubbles will get bigger on top of the liquid as the syrup thickens.
- The liquid will foam to a paler color when you stir it.
- The liquid’s color will turn a deep red-orange.
After 45 minutes of cooking, Dip one of the chilled teaspoons in the liquid and pour a little back onto the chilled saucer. If the liquid falls off in droplets, the jelly’s not done yet. When it slides off in a sheet and otherwise seems to stick to the spoon and set on the saucer, it’s ready to pour into clean jars. On the saucer, you can put the jelly to the wrinkle test as well – push it with your finger a little to see if the surface wrinkles. The testing process will take several tries – with a few of minutes between each try. Wipe off the spoons and the saucer and put them back into the freezer between tests.
Once your jelly has set, pull on a pair of kitchen gloves to protect your hands. (The jelly is HOT!)
Pour the liquid into a heat-proof pitcher, then pour it into clean jars almost to the top. Secure the lids on tightly, then turn them over and let them cool upside down. Return the jars right side up once they’re cool. (The upside-down method vacuum-seals the jars) last step seals the jars.) The jelly will continue to firm up for about 24 hours and your sealed jars will keep at room temperature.

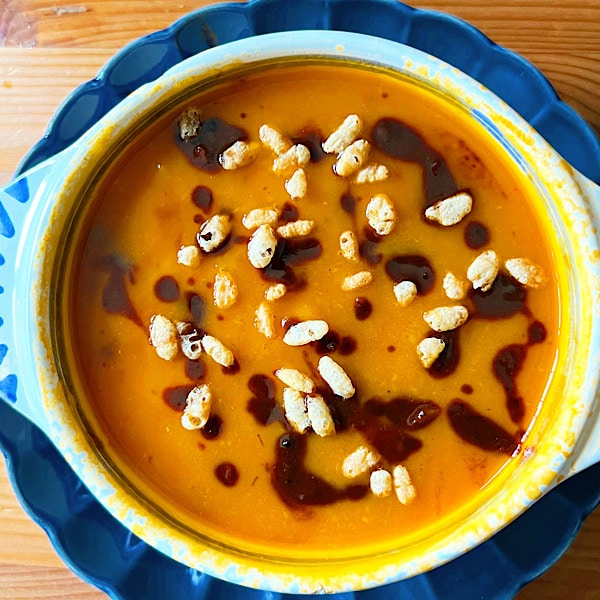
Boiling bletted medlars. (See the dark color?)

Medlar purée before straining.

Medlar juice + sugar + lemon

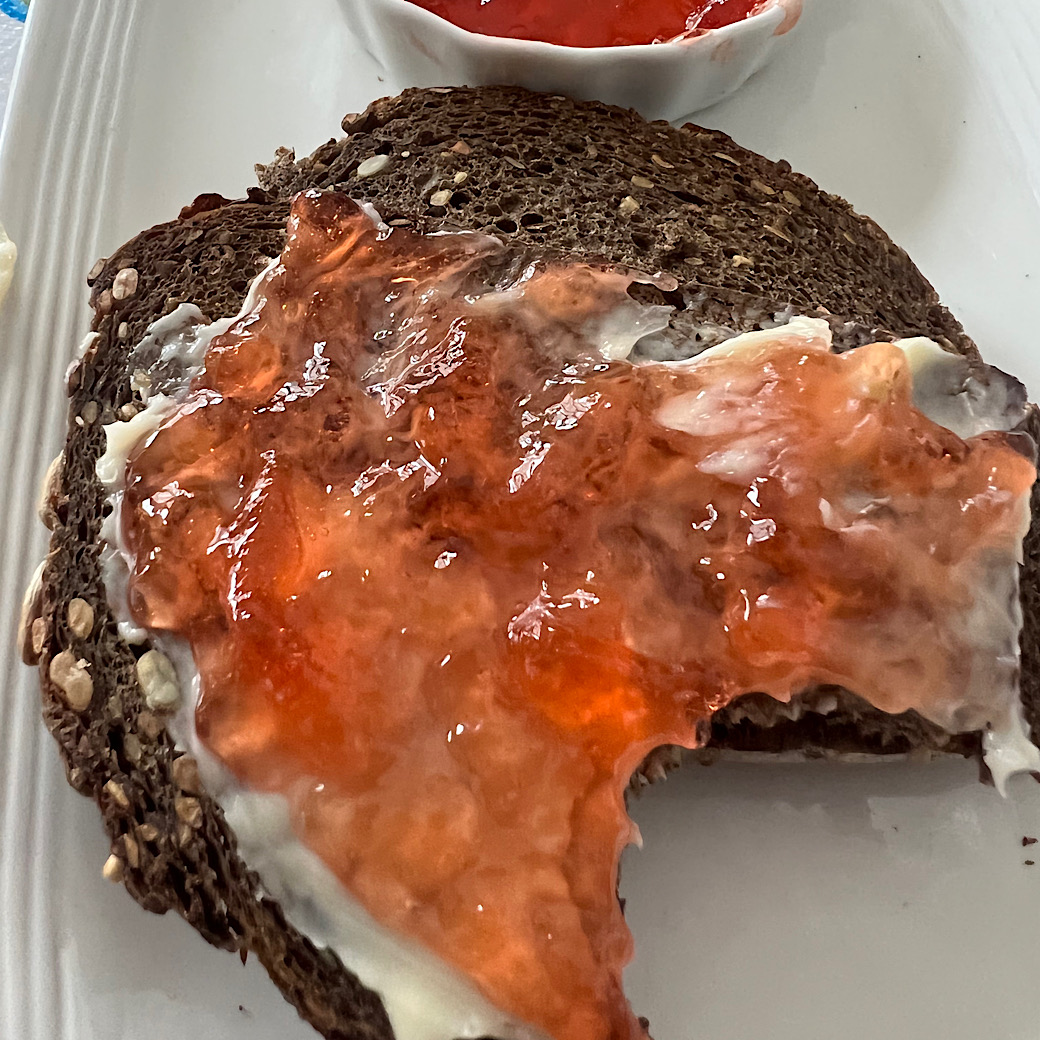
Color = visual cue the jelly’s ready.
[…] have a reasonable crop this year and I’m considering making some Medlar Jelly . I have not tried this before but this it might be worth the […]
It’s so worth it!! If you have any unbletted medlars, use ¼ of them to the bletted medlars to help the jelly set. I just learned this from a medlar expert in the UK and it works incredibly well!